8 DIY Garden Projects to Elevate Your Curb Appeal
Are you ready to give your home a fresh look? In 8 DIY Garden Projects to Elevate Your Curb Appeal, I’ll guide you to simple and fun projects. From easy flower bed edging to creating stunning vertical gardens, each idea brings charm and style. Plus, learn how to make a magical outdoor space with lighting and trellises. Let’s dive into these fun projects and boost your home’s first impression!
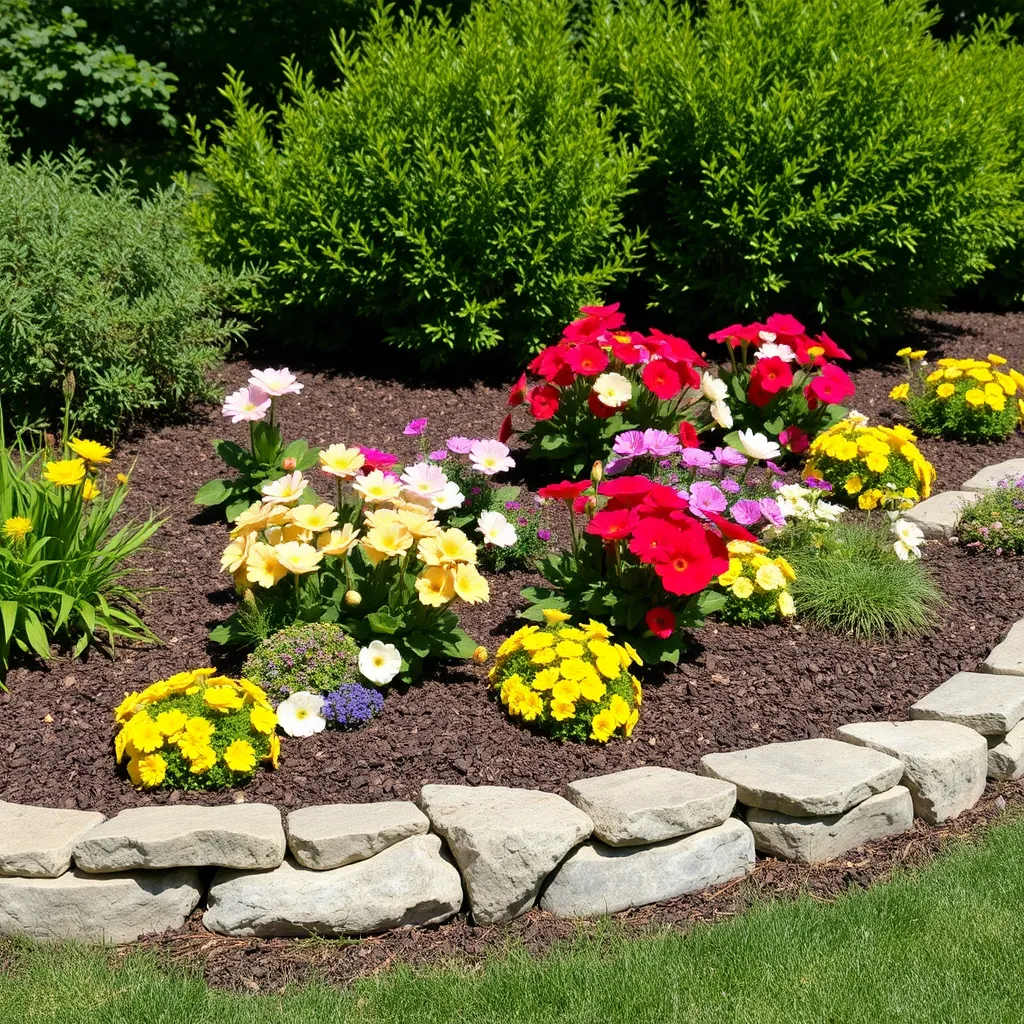
DIY Flower Bed Edging: Materials, Steps, and Design Tips

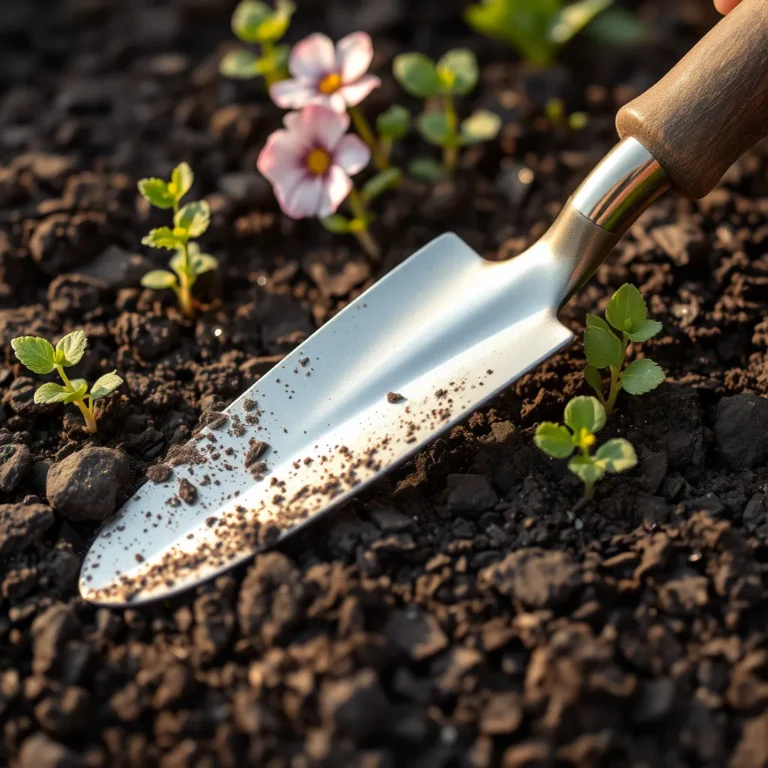
To make your flower bed stand out, start with edging. Good edging keeps the soil in place and gives your yard a neat look.
Materials
– Landscape fabric
– Wooden or stone edging
– Shovel
– Hammer
– Level
– Mulch
Steps
1. Choose Your Edging Material: Pick wood, stone, or plastic. Each has its own look.
2. Define Your Flower Bed Shape: Use a garden hose to outline the bed. This lets you see how it will look.
3. Dig a Trench: Use a shovel to dig a trench about 4 inches deep. Make it wide enough for your edging.
4. Add Landscape Fabric: Lay down fabric to stop weeds. Cut it to fit inside the trench.
5. Set the Edging: Place your edging in the trench. Use a level to ensure it is even.
6. Fill in Gaps: Add soil around the edges to hold it in place.
7. Add Mulch: Spread mulch around the flowers. This keeps moisture in and looks nice.
Design Tips
– Mix materials for a unique look.
– Use curves instead of straight lines for a softer feel.
– Paint wood edging to match your home.
Vertical Garden Planters: How to Create Air-Enhancing Garden Walls
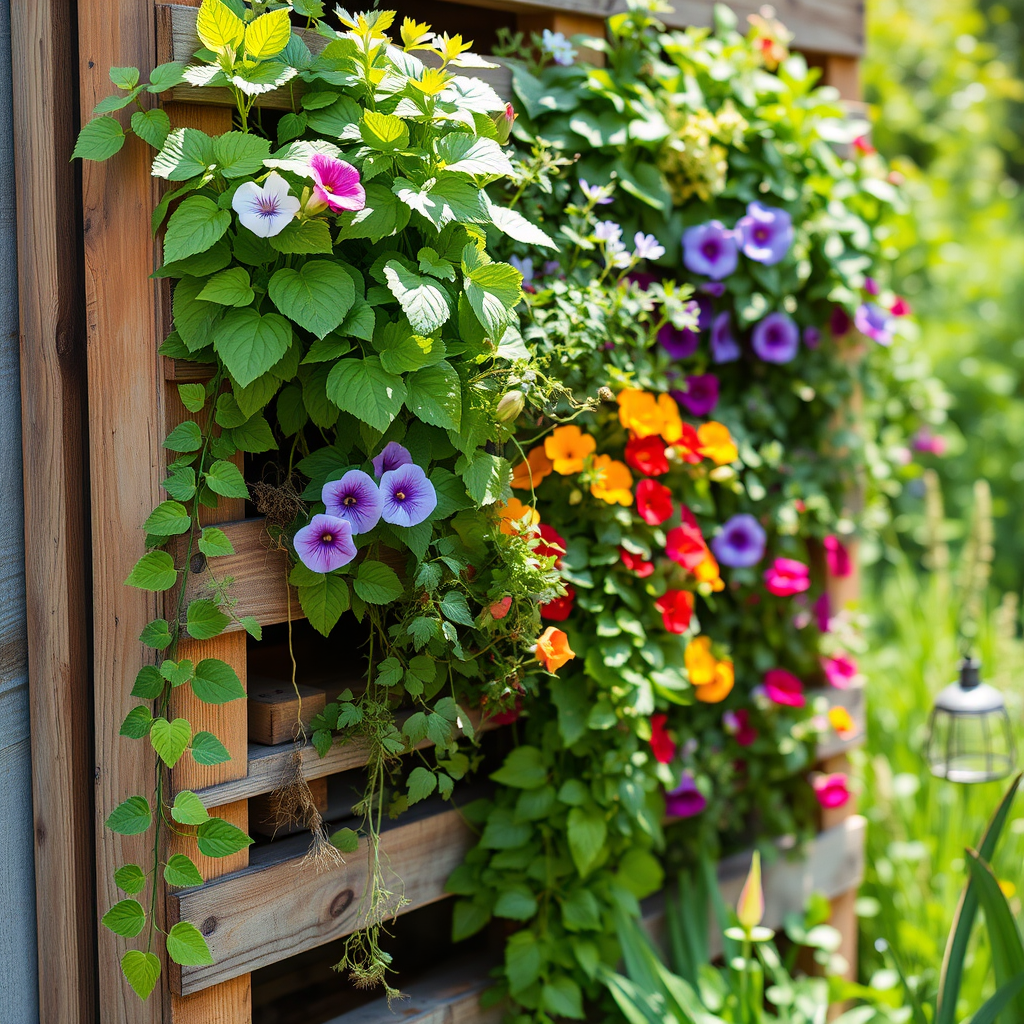
Vertical gardens save space and add beauty to your yard. They can also help clean the air.
Materials
– Wooden pallets or planter boxes
– Potting soil
– Plants (like herbs or flowers)
– Hooks or brackets
Steps
1. Choose the Right Spot: Find a sunny wall or fence. It should get at least six hours of sunlight.
2. Prepare Your Pallet or Box: Sand down any rough edges. This makes it safe to handle.
3. Attach Hooks or Brackets: Secure your pallet to the wall. Make sure it can hold the weight of the plants.
4. Fill with Potting Soil: Fill the pallet or box with soil. Leave some space at the top.
5. Select Your Plants: Choose small plants or herbs. They should fit well in the space.
6. Plant Your Flowers: Push plants into the soil. Make sure they are secure.
7. Water Regularly: Check the soil moisture. Water as needed.
Design Tips
– Use a mix of colors and textures for more interest.
– Consider trailing plants to create depth.
– Add a drip tray at the bottom to catch excess water.
DIY Garden Pathway Ideas: Using Natural Stone and Gravel
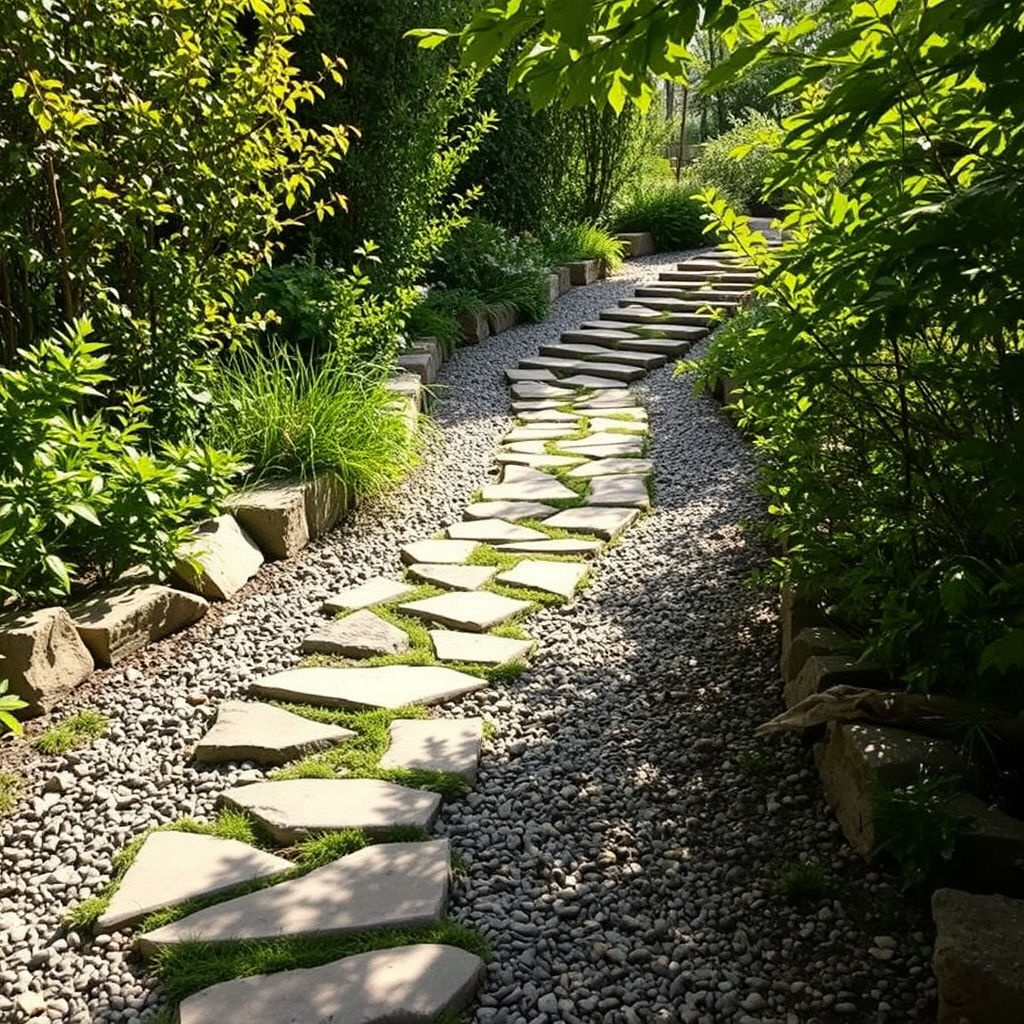
Paths guide visitors and enhance your garden’s charm. Natural stone and gravel create a rustic feel.
Materials
– Natural stones (like slate or flagstone)
– Gravel
– Landscape fabric
– Edging material (like bricks or wood)
Steps
1. Plan Your Path: Decide where the path will go. Mark it with stakes and string.
2. Dig the Pathway: Dig about 4 to 6 inches deep along the marked path.
3. Lay Landscape Fabric: Place fabric in the trench. This stops weeds from growing up.
4. Add Edging: Set your edging material around the path. This keeps gravel in place.
5. Fill with Gravel: Pour gravel into the path. Spread it evenly to create a smooth surface.
6. Place Natural Stones: Lay stones along the path. You want them evenly spaced for a nice look.
7. Compact the Gravel: Use a tamper to pack down the gravel. This helps keep it from shifting.
Design Tips
– Mix stone sizes for a natural look.
– Add stepping stones for a fun touch.
– Use plants along the edges for added beauty.
Decorative Slow-Drip Watering System: Saving Time and Resources
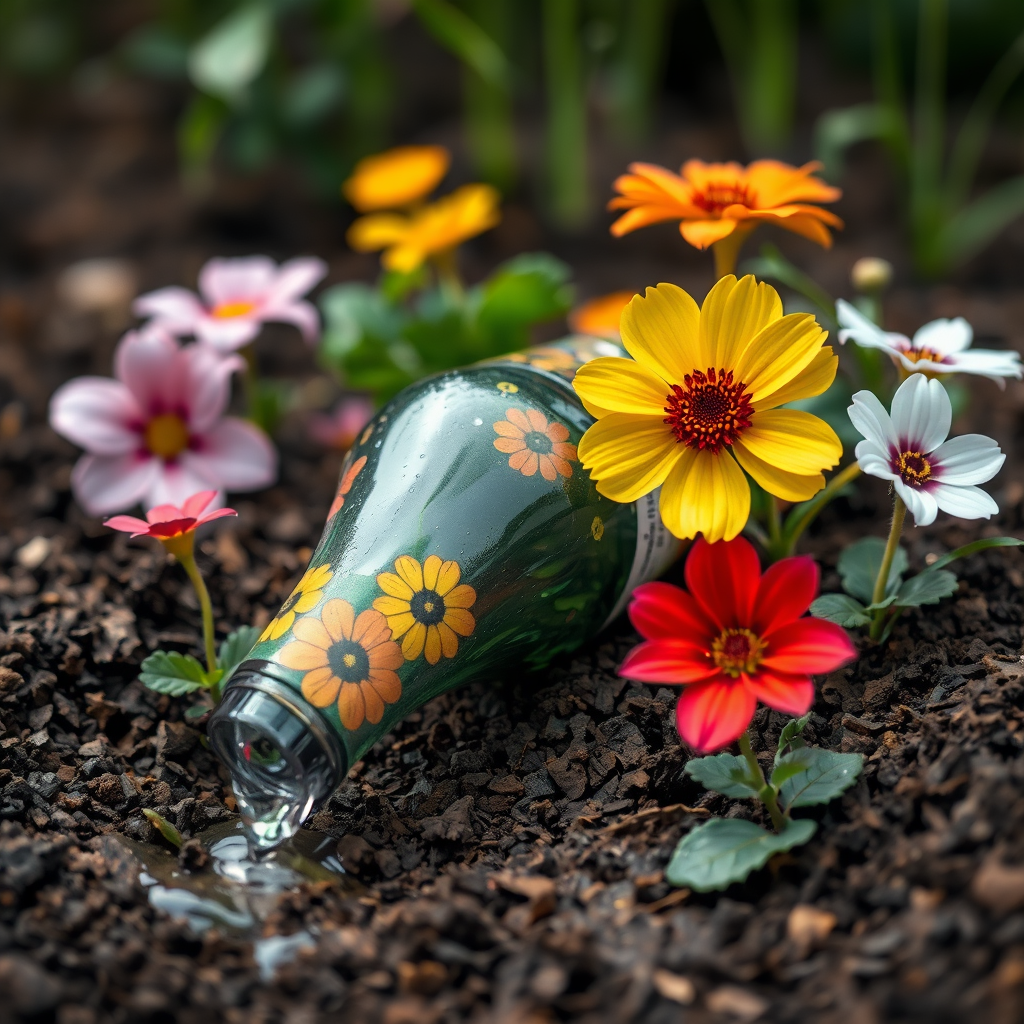
A decorative slow-drip watering system helps plants get water slowly. You can make one using simple tools. First, gather your materials: a plastic bottle, a piece of string, and a small drill.
– Step 1: Drill small holes in the bottle cap.
– Step 2: Fill the bottle with water.
– Step 3: Turn the bottle upside down and bury it in the soil near your plants.
This system waters your plants over time. It saves you time and keeps your garden green. You can decorate the bottle with paint or twine to match your garden style.
Creating a Curbside Herb Garden: Simple Containers and Planting Tips
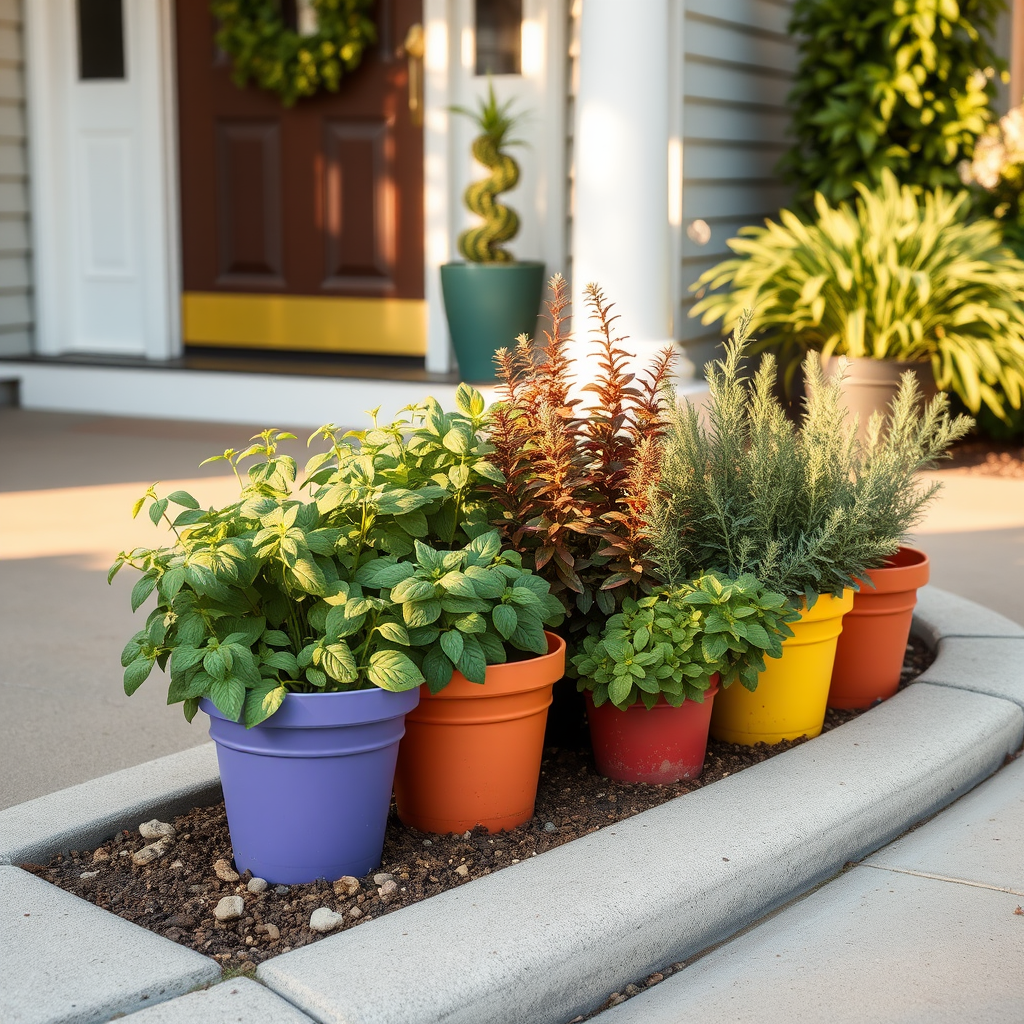
A curbside herb garden adds beauty and fresh scents to your home. Start by picking a sunny spot near your front door. Use colorful containers like pots or wooden crates.
– Step 1: Choose your herbs. Basil, mint, and rosemary work well.
– Step 2: Fill your containers with good potting soil.
– Step 3: Plant the herbs and water them well.
Herbs need sunlight, so place them where they get at least six hours of light. You can snip fresh herbs for cooking. This adds charm and saves money on groceries.
DIY Decorative Fence Enhancement: Painting and Designing Ideas
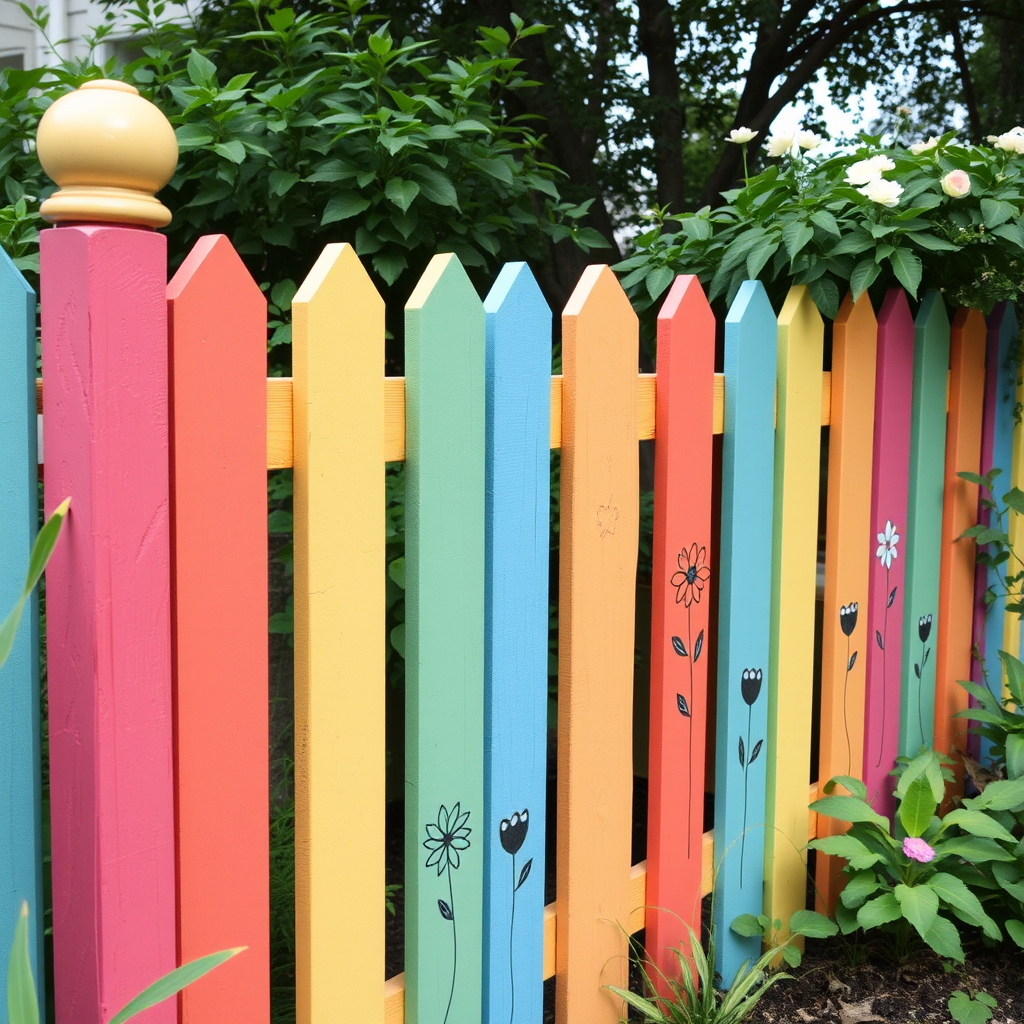
A plain fence can look great with some paint. You can easily enhance it to boost curb appeal. Start by choosing a fun color that matches your style.
– Step 1: Clean the fence to remove dirt and old paint.
– Step 2: Apply a coat of primer for better color hold.
– Step 3: Paint the fence with your chosen color.
You can also add designs like stripes or flowers. Use stencils for easy patterns. This brightens your yard and creates a welcoming feel for guests.
Building a Trellis for Climbing Plants: Step-by-Step Guide
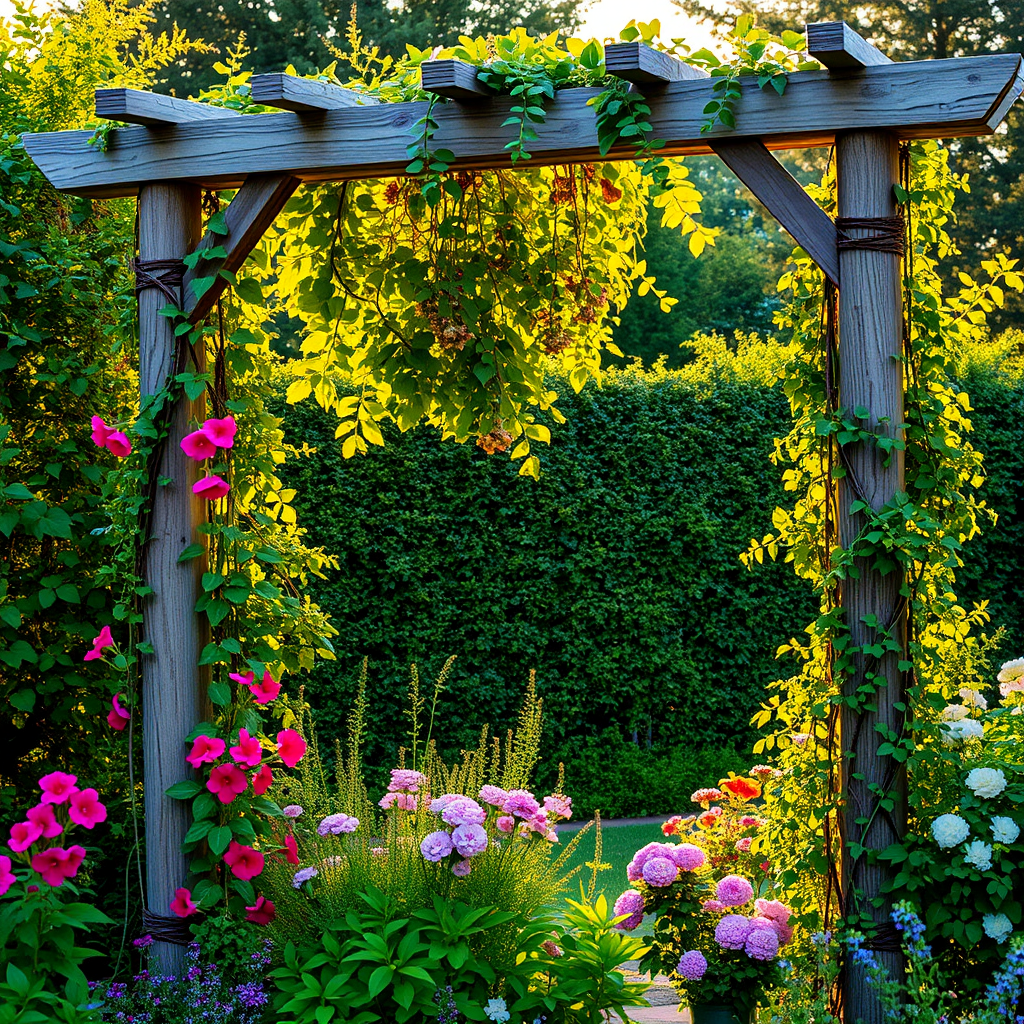
Building a trellis is fun and easy. It helps plants grow tall and adds charm. You can craft one with wood or metal. Here’s how to do it:
1. Choose Your Location: Find a spot that gets sun. Make sure it’s near your plants.
2. Gather Your Materials: You need:
– Wooden or metal stakes
– Twine or wire
– A saw (for wood)
– Drill or hammer
3. Decide on Size: Measure how tall and wide you want your trellis. A good size is about 6 feet tall.
4. Build the Frame: Make a rectangle or triangle. Secure the corners with screws or nails.
5. Add Vertical Slats: Space them evenly. These will support your climbing plants.
6. Attach Twine or Wire: Run it across the frame. This gives plants something to grab.
7. Plant Your Climbers: Use beans, peas, or flowers. They will grow up the trellis.
This trellis will make your garden pop and boost your curb appeal.
Outdoor Lighting Solutions: Solar Lights for Magical Night Views
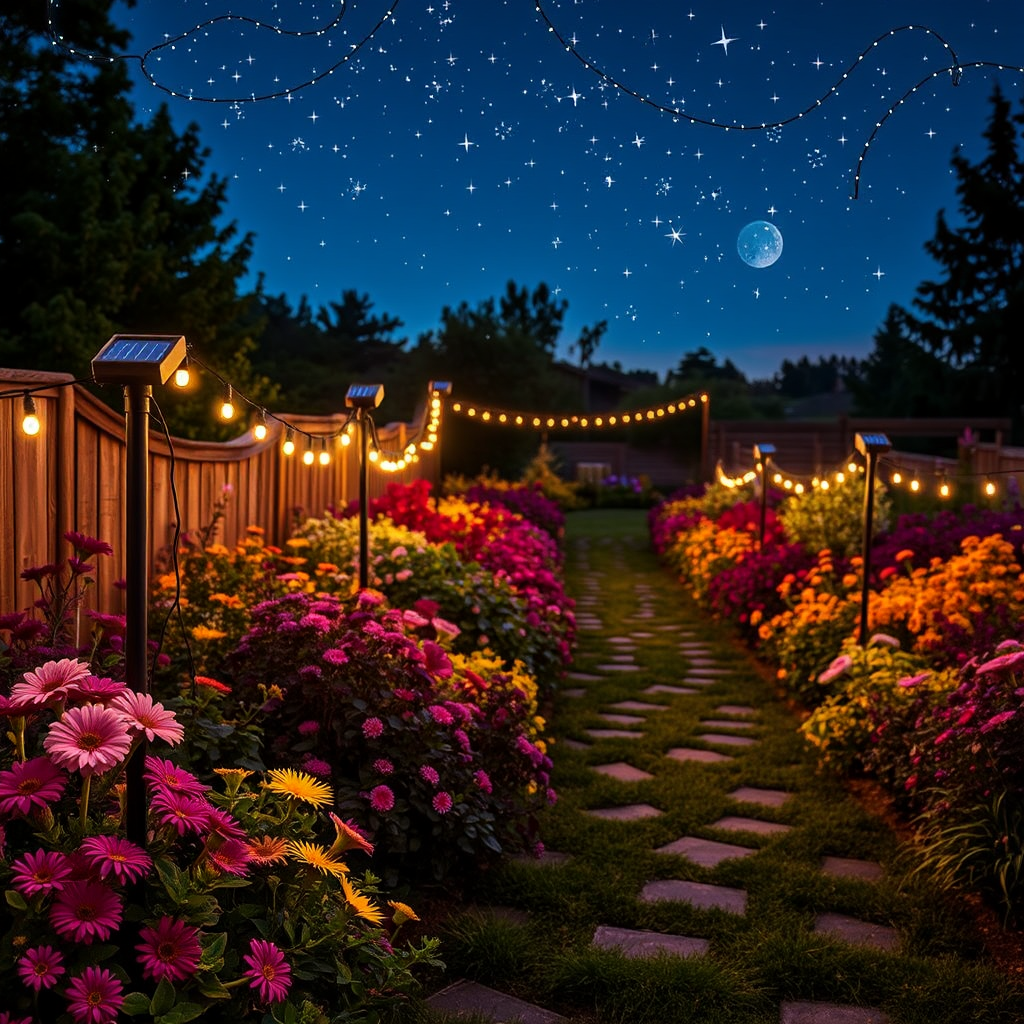
Using solar lights can change your garden at night. They are eco-friendly and easy to install. Here’s how to use them:
1. Choose the Right Lights: Look for solar path lights or string lights. They come in many styles.
2. Plan Your Layout: Decide where you want the lights. Pathways and patios are great spots.
3. Check Sunlight: Make sure the lights get sun during the day. This helps them shine bright at night.
4. Install the Lights: Follow the package instructions. Most just need to be pushed into the ground.
5. Enjoy the Glow: At night, your garden will look magical. The lights will highlight your plants and pathways.
Solar lights not only look great but also increase safety. They are a simple way to enhance your curb appeal.
Conclusion
In this blog post, we explored various DIY gardening projects. We discussed flower bed edging materials, vertical garden walls, and charming garden pathways. You learned about decorative watering systems and creating curbside herb gardens. We also covered fence enhancements, building trellises, and outdoor lighting solutions.
These projects not only beautify your space but also enhance your garden’s health. Dive into these ideas, and enjoy transforming your outdoor area step by step. With each project, you grow your skills and your love for gardening.