
10 Stylish DIY Potting Bench Ideas for Garden Lovers
Are you a garden lover looking to elevate your gardening game? Creating your own potting bench not only boosts your gardening space but also adds style to your backyard. In this post, I’ll share 10 stylish DIY potting bench ideas that are perfect for any garden enthusiast. From rustic wooden designs to contemporary minimalist styles, each idea includes easy steps and materials. Let’s get started on transforming your gardening experience!
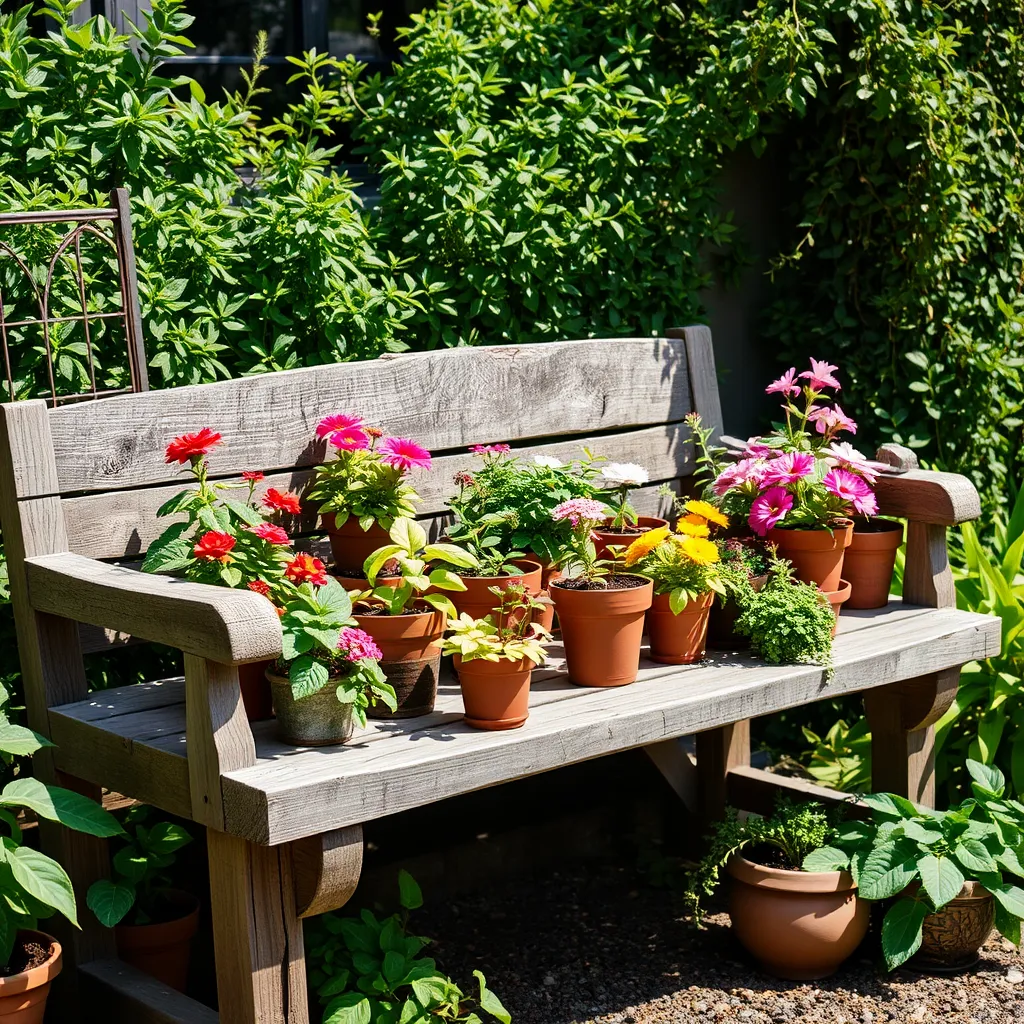
Rustic Wooden Potting Bench with Shelves

Detailed materials list
– Untreated wood boards
– Wood screws
– Sandpaper
– Wood stain or paint
– Wood glue
– Hinges for doors
Step-by-step construction guide
1. Cut the wood into pieces for the top, shelves, and legs.
2. Assemble the frame by attaching the legs to the top.
3. Add shelves by securing them to the sides.
4. Sand the surfaces until smooth.
5. Apply stain or paint for that rustic look.
6. Attach the doors with hinges for extra storage.
Customization tips for rustic aesthetics
– Use reclaimed wood for a more authentic feel.
– Add hooks on the sides for tools.
– Decorate with potted plants or garden signs.
– Choose earthy colors to match your garden.
Garden Cart Potting Bench Hybrid

To make a garden cart potting bench, you need some basic items. Here’s what you’ll need:
– A sturdy garden cart
– Wood boards for the top
– Screws and brackets
– Sandpaper
– Paint or wood stain (optional)
– Tools: drill, screwdriver, and saw
Start by converting your garden cart. First, remove any old parts that you don’t need. Next, cut wood boards to fit the top of the cart. Attach the boards using screws and brackets. Make sure it is secure and level. If you want, you can sand and paint or stain the wood for a nicer look.
This design saves space in your garden. You can easily move the cart around. When you’re not using it, you can tuck it away. This bench fits well in small yards or patios. Plus, the cart has wheels, making it simple to push. You can even use the cart to transport plants and supplies.
Vertical Potting Bench for Small Spaces

For a small garden, a vertical potting bench saves room. Here’s what you need:
– Wooden boards (1x4s or 1x6s)
– Screws
– Wood glue
– Sandpaper
– Paint or stain
– Hooks and brackets
– A saw
– A drill
Construction Steps
1. Cut the boards: Cut two long boards for the sides. Cut shorter boards for the shelves.
2. Build the frame: Attach the side boards to the bottom shelf using screws.
3. Add shelves: Space the shelves evenly and secure them with screws.
4. Sand and finish: Smooth all edges with sandpaper. Paint or stain as desired.
5. Install hooks: Add hooks on the sides for tools and pots.
Maximizing Space and Functionality
Use wall space to store pots and tools. This helps keep the ground clear. You can also add a small tray on a shelf for soil. This design makes it easy to pot plants. It also keeps your garden tools close. A vertical potting bench is perfect for small areas.
Upcycled Pallet Potting Bench

To make an upcycled pallet potting bench, you need a few tools. Gather a saw, hammer, nails, and sandpaper. You can find pallets for free at local stores or warehouses. Always check for safe pallets that are not treated with chemicals.
Start by choosing a sturdy pallet as your base. Cut the pallet to your desired size. Next, sand the wood to remove rough edges. Then, stack two or three pallets to form shelves. Secure them with nails. Finally, paint or stain the wood if you want a pop of color.
Using pallets is eco-friendly. By upcycling, you reduce waste and save money. You also create a unique piece for your garden. Each bench will have its own character, making it special. Plus, you help the planet by recycling materials.
Potting Bench with Built-in Planter Boxes

For this design, you will need:
– Wooden boards
– Wood screws
– Drill
– Saw
– Sandpaper
– Paint or stain (optional)
To create the planter boxes, follow these steps:
1. Cut wooden boards to your desired size.
2. Assemble the pieces into a box shape.
3. Secure with wood screws.
4. Sand the edges for a smooth finish.
5. Optionally, paint or stain your boxes.
Enhance functionality by adding built-in features.
– Create a shelf below the potting area for tools.
– Install hooks for hanging tools or pots.
– Add wheels for easy movement if needed.
This potting bench not only looks great but also serves various gardening tasks.
Mobile Potting Bench on Wheels

For a mobile potting bench, you need simple materials. Here’s a quick list:
– Wooden boards (for the top and shelves)
– Four sturdy wheels
– Wood screws
– Wood glue
– Sandpaper
– Paint or stain (optional)
Start by cutting the wooden boards to your desired size. Next, assemble the frame. Attach the wheels to the bottom corners for easy movement. Secure everything with wood screws and glue. Sand the edges to avoid splinters. If you want, add paint or stain for style.
Mobility in gardening is a game changer. You can move the bench to follow the sun or shade. It helps when you need to work in different spots. You can also roll it inside during bad weather. This bench makes potting plants easy and fun.
Compact Folding Potting Bench

For a compact folding design, you need a few basic materials:
– Plywood sheets
– Hinges
– Screws
– Wood glue
– Sandpaper
– Paint or stain
– Folding brackets
Instructions for construction and folding mechanism
1. Cut your plywood: Start by cutting two pieces for the top and bottom. The top should be wider than the bottom.
2. Attach the hinges: Use the hinges to connect the top to the bottom piece. This lets you fold it down easily.
3. Add the brackets: Place folding brackets on the sides. This will hold the bench up when it’s in use.
4. Sand the edges: Smooth all edges to avoid splinters.
5. Finish it: Paint or stain the bench to protect the wood and enhance its look.
Space-saving features and practical use
This bench is perfect for small yards or patios. When you don’t need it, just fold it up and store it. You can easily carry it to different spots in your garden. Plus, it allows you to pot plants anywhere you want. This bench is both useful and stylish, making it a great choice for any garden lover.
Classic Farmhouse Style Potting Bench

To create a classic farmhouse-style potting bench, start with these materials:
– Wooden planks (cedar or pine)
– Screws
– Sandpaper
– Wood stain or paint
– A saw
– A drill
Begin by cutting the wooden planks to your desired size. A common size is 5 feet long and 2 feet wide. Make the top surface sturdy enough for heavy pots.
Next, build the frame. Use two planks for the long sides and two for the short sides. Attach the pieces using screws. This step makes a strong base.
Now, add shelves. Cut additional planks for the lower shelf. Attach these shelves about 18 inches from the ground. This extra storage helps keep your tools handy.
For a personal touch, customize the bench. You can add hooks for tools or a small planter on the side. Painting it a soft color, like light blue, adds charm.
Consider adding a rustic finish. Sand the edges to make them smooth. Then, apply wood stain to highlight the grain. This enhances the farmhouse look.
By following these steps, you can craft a classic farmhouse potting bench that suits your garden perfectly.
Potting Bench with Sink for Convenience

To build a potting bench with a sink, you need a few key materials:
– A sturdy wooden frame
– A sink basin
– Plumbing pipes
– A faucet
– Waterproof sealant
– Screws and brackets
Plumbing Basics: You should know how water flows. Connect the sink to your home’s water supply. Use pipes to drain water away. If you are unsure, ask a plumber for help.
Step-by-step Guide for Including a Sink:
1. Build the bench frame first.
2. Cut a hole for the sink.
3. Install the sink and secure it in place.
4. Connect the plumbing to your water source.
5. Seal around the sink with waterproof sealant.
Practical Uses of Having a Sink on the Bench:
Having a sink makes gardening easier. You can wash your hands after potting. Rinse off tools without going inside. It saves time and keeps your area clean. Plus, it adds style to your garden space.
Contemporary Minimalist Potting Bench

For a clean and modern look, you need simple materials. Gather these items:
– A sturdy tabletop
– Two strong side frames
– A shelf for storage
– Wood screws
– Sandpaper
– Paint or wood stain
Start by cutting the wood to your desired size. Make sure the tabletop is wide enough for pots. Then, attach the side frames to the tabletop. Use screws for a strong hold.
Next, add the shelf below the table. This space is perfect for pots and tools. Sand the surfaces until smooth. If you want a sleek finish, paint or stain the wood.
For a personal touch, you can add hooks. Hang tools or small pots on them. You might also want to include small planters on the shelf. This adds color and life to your bench.
Conclusion
In this article, we explored various potting bench designs. We covered rustic wooden benches with shelves, space-saving vertical options, and mobile designs. Each type has steps, materials, and tips for customization. The upcycled pallet bench showcases eco-friendliness while the classic farmhouse style adds charm.
Choose the design that fits your space and style. A potting bench will boost your gardening experience and make tasks easier. Happy building!