9 Creative Upcycling Ideas for Your Garden Decor
Do you want a garden that stands out without breaking the bank? I’ve got you covered! In this article, I’ll share 9 creative upcycling ideas to transform everyday items into unique garden decor. From vintage teacup planters to quirky shoe planters, each project is easy to do and fun. Get ready to unleash your creativity and give your garden a fresh, eco-friendly vibe! Let’s dive right in!
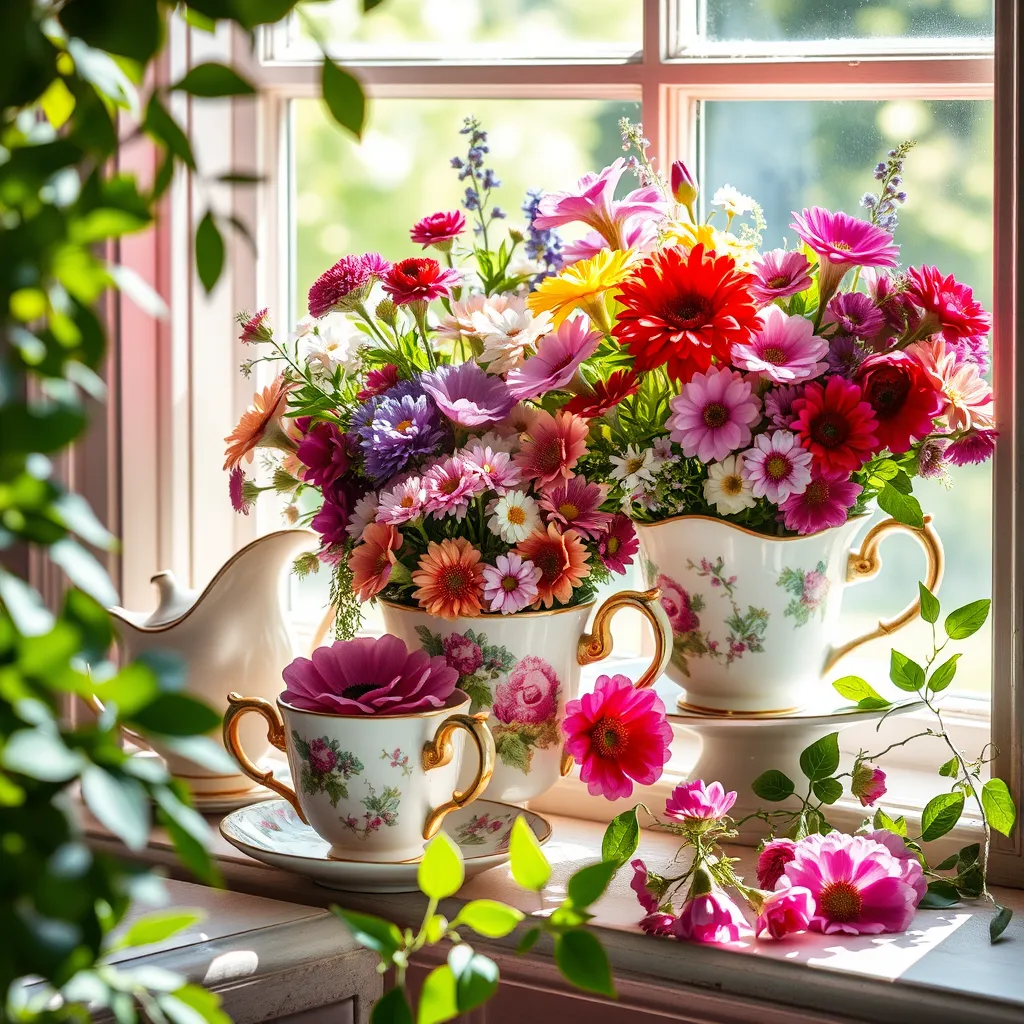
Vintage Teacup Planters: Transform old teacups into charming planters for small flowers or herbs.

To make vintage teacup planters, you will need a few simple items.
Materials Needed:
– Teacups
– Drill or screwdriver for drainage holes
– Plants
– Potting soil
Step-by-Step Instructions:
1. Choose your teacups. Look for cups with interesting designs.
2. Make drainage holes. Use a drill or screwdriver to poke one or two small holes in the bottom. This helps water escape.
3. Add potting soil. Fill the teacups about two-thirds full with potting soil.
4. Plant your flowers or herbs. Choose small plants that fit well.
5. Water gently. Make sure not to soak the plants too much.
6. Display your planters. Place them on a windowsill or in your garden.
These teacup planters add charm and color. They also show your creative side!
Wooden Pallet Vertical Garden: Utilize wooden pallets to create a vertical garden space.

You can find wooden pallets at local stores or warehouses. Ask for used pallets that are clean and safe. Look for pallets marked with “HT,” meaning they are heat-treated and safe for plants. Avoid pallets with chemical marks.
To make a vertical garden, start by cleaning the pallet. Remove any loose nails or splinters. Next, lay the pallet flat. Use landscape fabric to line the back and sides. This fabric keeps the soil from falling out. Secure it with a staple gun.
Now, stand the pallet up against a wall. You can add a frame for stability if needed. Fill the pockets with potting soil. Choose small plants like herbs, succulents, or flowers. Consider plants that grow well together, like thyme and basil.
Water your plants carefully. Check the soil often to keep it moist. Hang some garden lights nearby for charm. A wooden pallet vertical garden adds beauty and saves space. It’s a fun way to grow plants in a small area.
Repurposed Ladder Garden Display

Using an old wooden ladder can bring charm to your garden. First, you need to clean the ladder. Remove any dirt and old paint. If the ladder is not sturdy, you may want to reinforce it with screws. Next, paint the ladder in a bright color to make it pop. Use outdoor paint so it lasts longer in the weather.
Once the ladder is ready, secure it in an upright position. You can use bricks or stones to hold it steady. Make sure it stands firm, so it can hold your plants.
Now comes the fun part: adding pots! You can hang flower pots on the steps. Choose pots of different sizes for a layered effect. You can also place small decorative elements, like garden gnomes or fairy houses, on the ladder. This adds personality to your display.
Consider using trailing plants, such as ivy or petunias. They will drape beautifully over the sides. Your ladder will become a vibrant focal point in your garden.
Tin Can Lanterns: Create beautiful lanterns from recycled tin cans for evening garden charm.

To make tin can lanterns, gather these tools:
– Empty tin cans
– Hammer
– Nail or large screwdriver
– Pliers
– Paint (optional)
– Wire or string lights
First, fill the tin cans with water and freeze them overnight. The ice helps keep the can shape. Once frozen, take the can out of the freezer. Let it thaw for a few minutes, then use a hammer and nail to poke holes in the can. You can make patterns or simple shapes.
After making holes, rinse the can and remove the ice. If you want, paint the outside for added flair. Next, add a candle or lights inside the can. For safety, use LED lights instead of real candles. They are safer and last longer.
To hang the lanterns, use wire or string. Create a handle by wrapping the wire around the can. You can hang them from trees or hooks in your garden.
Always remember, safety first! If you use candles, place the lanterns on stable surfaces. Keep them away from plants and flammable items. Enjoy the warm glow in your garden!
Bicycle Wheel Garden Art: Transform an old bicycle wheel into an artistic focal point.

To make bicycle wheel garden art, start with an old wheel. You can often find these at garage sales or thrift stores. Choose a spot in your garden where it can stand out.
Next, attach plants to the wheel. Use wire or twine to secure small pots of flowers or herbs. You can hang the wheel on a wall or lean it against a fence. To add more flair, paint the wheel in bright colors.
Think about your garden’s color scheme. If you have a lot of greens, a bright red or blue wheel pops nicely. Arrange the plants in a way that feels balanced. Place taller plants at the top and smaller ones below.
You can also add decorations. Hang colorful ornaments or birdhouses from the spokes. This makes your bike wheel a fun, eye-catching piece. Enjoy how it brings life and charm to your garden!
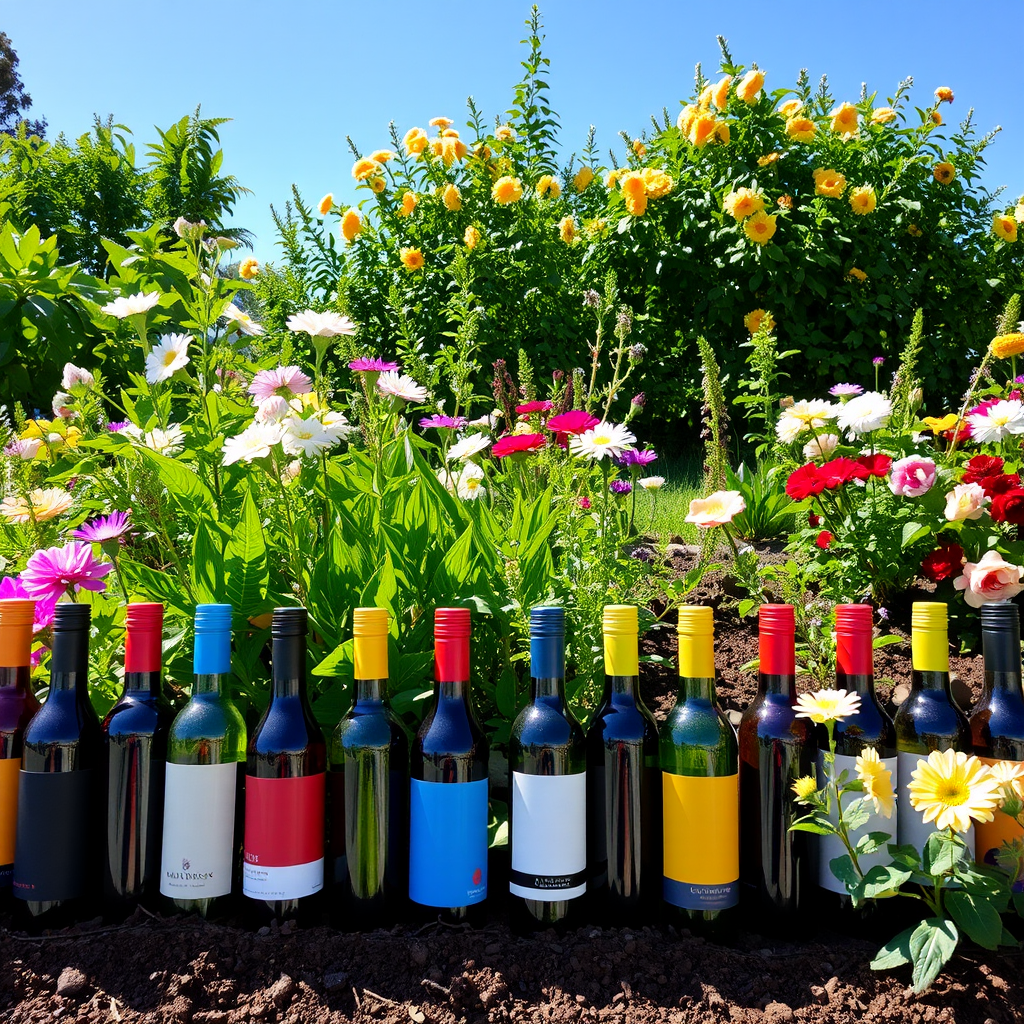
Wine Bottle Garden Edging: Utilize empty wine bottles to create eco-friendly garden borders.
To start, collect your empty wine bottles. You can ask friends or check local restaurants. Next, clean the bottles and remove any labels. This step makes your project look neat.
Now, let’s dig into the ground. Use a shovel to create a trench where you want your border. Make sure it is deep enough to hold the bottles securely.
Place the bottles in the trench, neck down. This way, they stand up well. You can arrange them in a straight line or create curves for a fun design.
Think about color when you arrange the bottles. Use a mix of green, brown, and clear bottles for a nice look. You may also want to alternate the heights of the bottles. This adds interest and makes the border stand out.
Once you have them in place, fill around the bottles with soil. This helps hold them firm. Water the area to settle the soil and ensure the bottles stay put.
Now, enjoy your beautiful upcycled garden edging. It will add charm and character to your outdoor space!
Old Shoes as Planters: Turn mismatched or worn-out shoes into quirky plant containers.

Old shoes make fun and unique planters. You can use any style, like sneakers or boots. First, you need to make drainage holes. Just poke a few holes in the bottom with a screwdriver. This step keeps plants from drowning in water.
For plants, I recommend succulents or small flowers. They do not need much soil or water. A mix of potting soil and sand works well. Fill the shoes halfway with soil, then add your plants.
Now for decorating! You can paint the shoes bright colors or add cute designs. Try gluing on buttons, ribbons, or even small toys. This way, each planter tells its own story. Placing these shoes around your garden adds a personal touch.
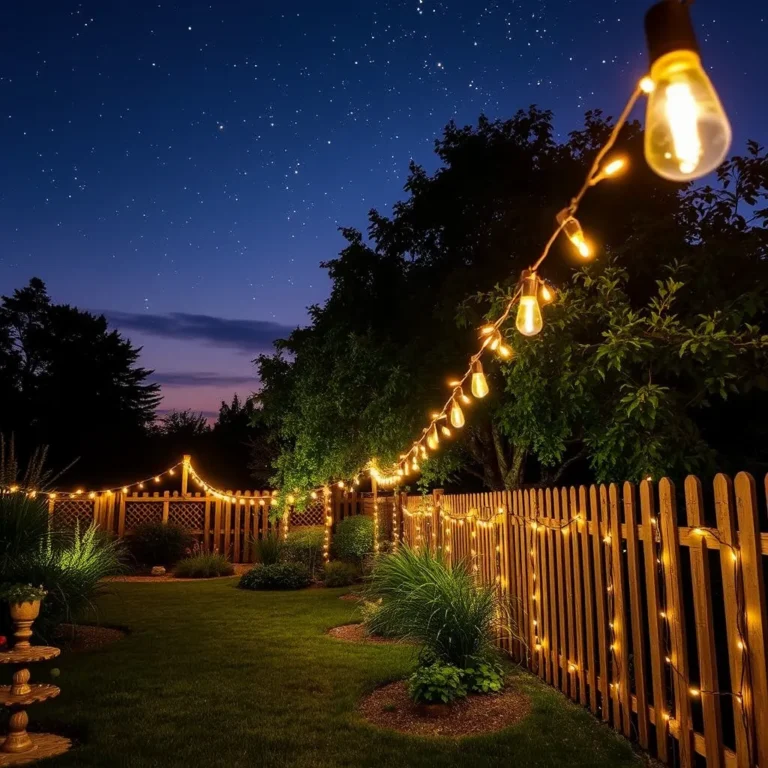
Glass Jar Fairy Lights

You can turn glass jars into fun fairy light holders. They add a magical touch to your garden. Here is how to do it step by step.
1. Gather Materials: You need glass jars, fairy lights, and scissors. You can use jars of different sizes for variety.
2. Prepare the Jar: Start by cleaning the jars. Remove any labels and wash them well. Let them dry completely.
3. Insert Lights: Take your fairy lights and carefully put them inside the jar. Leave some lights hanging out for a soft glow.
4. Secure the Lid: If your jar has a lid, you can put it on or leave it off. If you want to hang the jar, attach twine or wire to the lid.
5. Add a Base: If you want, you can add some sand or pebbles at the bottom. This helps to hold the lights in place.
6. Place Them Around: Set your jars around the garden. They can line paths or hang from branches.
To make your jars even more special, you can decorate them. Here are some ideas:
– Paint: Use glass paint to add color. You can paint patterns or even your favorite designs.
– Glitter: Apply glue to the outside of the jar and sprinkle glitter on it. This adds sparkle when the lights shine.
Creating glass jar fairy lights is easy and fun. You can change them whenever you want. They can brighten any garden space at night.
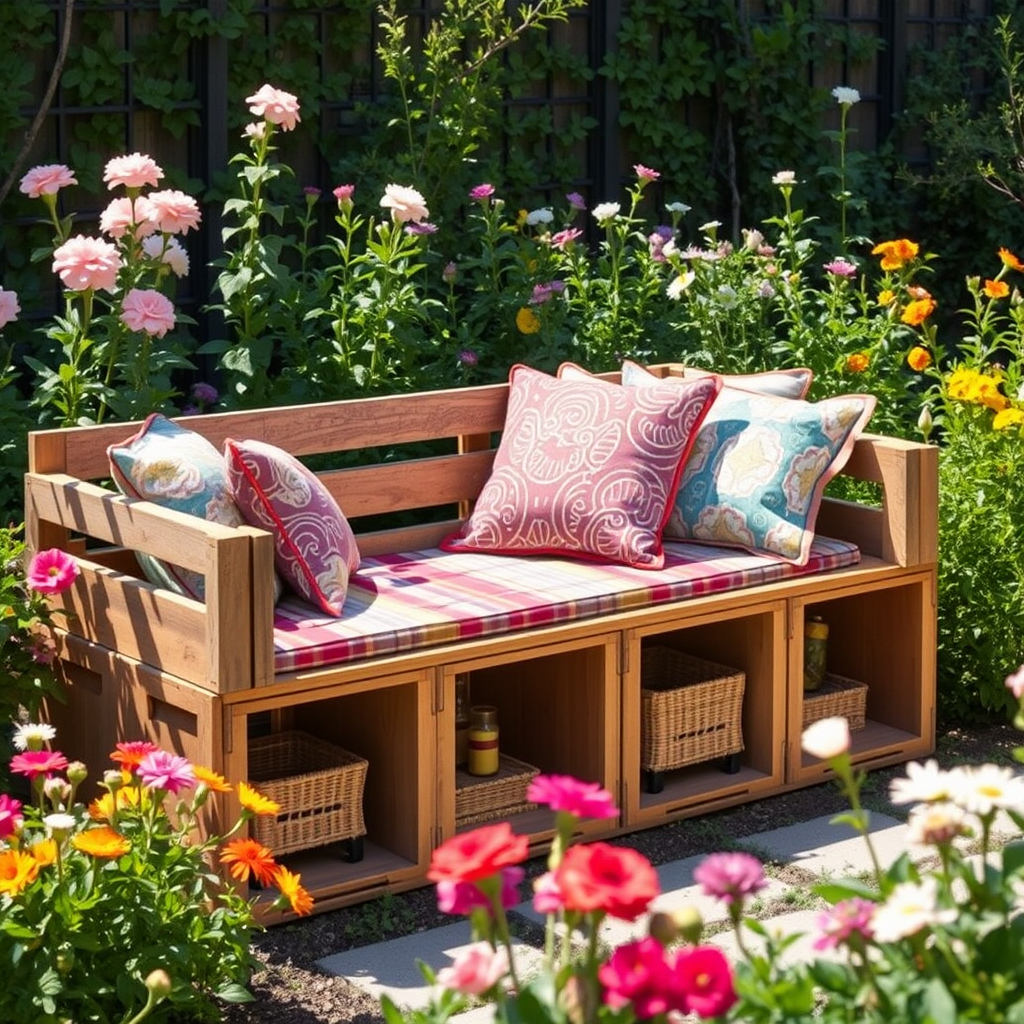
Crates as Garden Furniture: Convert wooden crates into rustic benches or tables for garden gatherings.
Start with sturdy wooden crates. You can find these at local shops or online. Gather two or more crates for a bench or table. Clean them well to remove dirt and grime.
Next, stack the crates. If you want a bench, place two crates side by side. For a table, stack one crate on top of another. Secure them with screws to keep them stable.
Now, it’s time to paint. Choose a color that fits your garden style. Use outdoor paint for durability. Apply a coat or two for a smooth finish. Let it dry completely before using.
Add cushions or covers for comfort. Pick cushions that match your color scheme. This will make your garden furniture cozy and inviting. You can even use old fabric scraps for unique designs.
Finally, place your new furniture in a nice spot. Enjoy your garden gatherings with friends and family. Upcycled crates will add charm and comfort to your outdoor space.
Conclusion
Transforming everyday items into unique garden features is fun and fulfilling. We explored vintage teacups, wooden pallets, old ladders, and more. You can create planters, lanterns, and even garden art from things you already own.
These projects not only beautify your space but also promote recycling and creativity. Now it’s time to gather your materials and start crafting your own garden treasures. Enjoy the growth and charm they bring to your outdoor area!