10 DIY Garden Signs to Transform Your Outdoor Space
Are you ready to make your garden unique? With just a few supplies, you can create beautiful DIY garden signs. These signs will not only add charm, but they’ll also show off your style. From rustic wood to cheerful painted rocks, I’ll guide you through ten fun projects. Let’s dive in and transform your outdoor space into a creative oasis that reflects your personality!
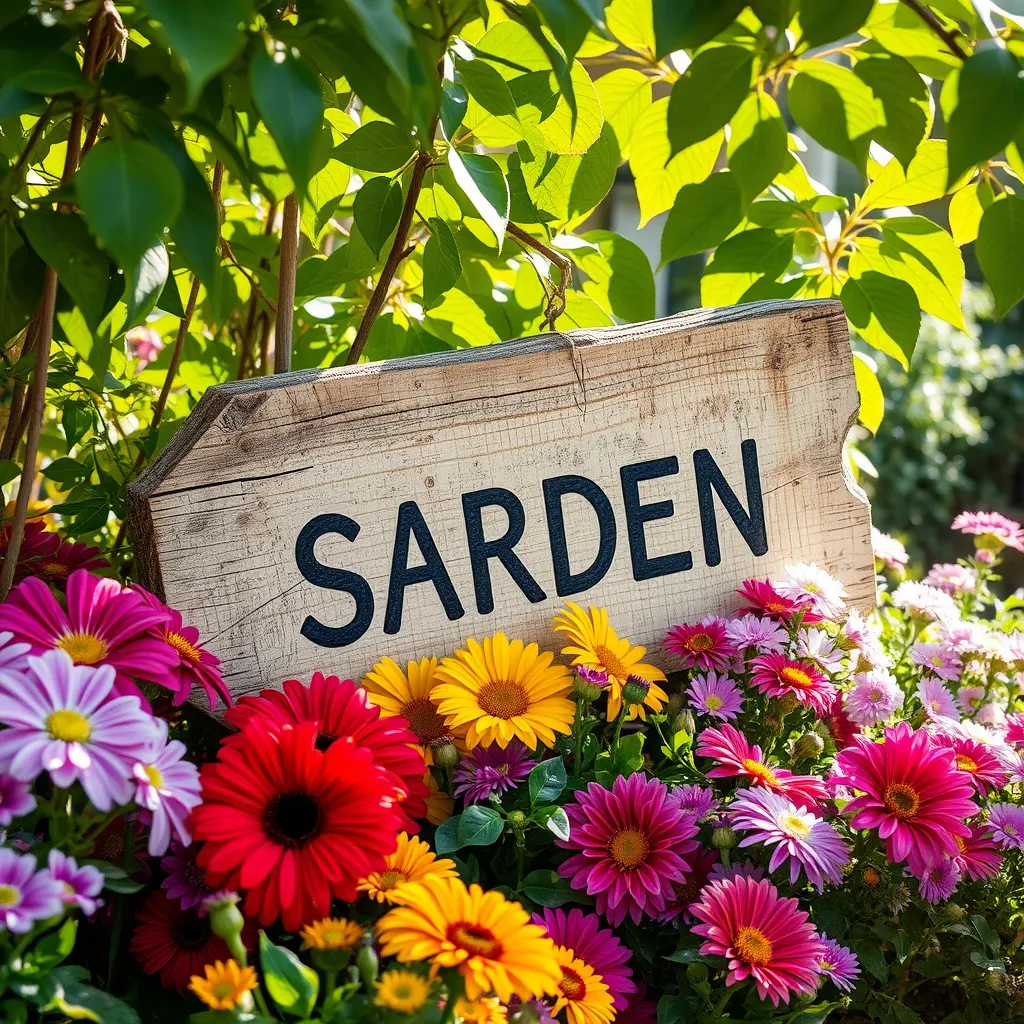
Rustic Wooden Garden Sign: Materials, Instructions, Care Tips

To make a rustic wooden garden sign, start with some key materials. Gather these items:
– A wooden plank
– Sandpaper
– Outdoor paint or wood stain
– Paintbrush
– Wood sealer
– Stencils or a marker
First, sand the wooden plank to smooth out rough edges. Then, use the stencils or a marker to write your message. Choose a fun phrase like “Welcome to My Garden.” Next, paint over the letters. Let it dry fully. After that, apply a wood sealer to protect your sign from rain and sun. This helps it last longer.
For care, check the sign every few months. If you see the paint fading, touch it up. Store it inside during harsh weather to keep it looking nice.
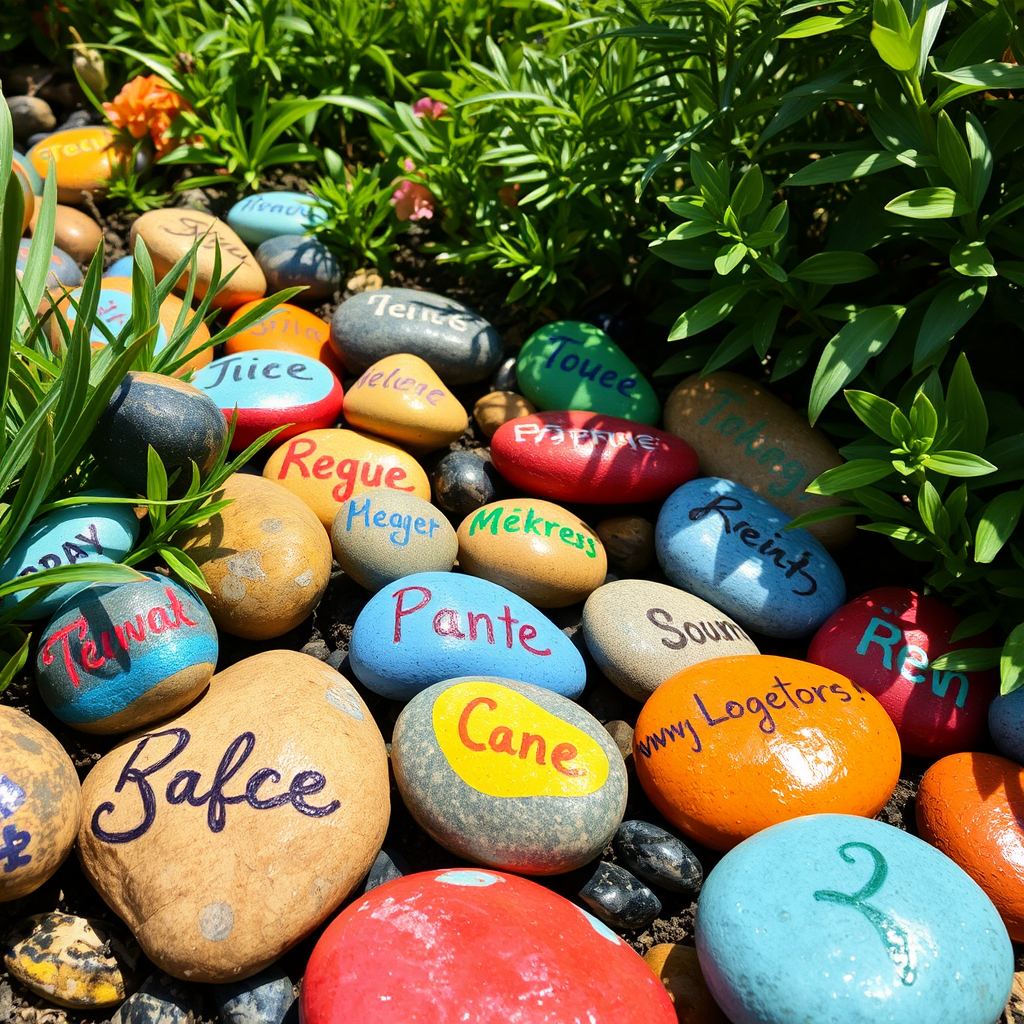
Painted Rock Garden Sign: Materials, Instructions, Care Tips
Making a painted rock garden sign is easy and fun. You’ll need these materials:
– Smooth rocks
– Acrylic paint
– Paintbrushes
– Clear sealant spray
Choose smooth rocks for your signs. Use acrylic paint to decorate them. You can write plant names or fun messages. Let the paint dry completely. Once dry, spray a clear sealant on top. This step protects your art from rain and dirt.
For care, check your rocks often. If they get dirty, wash them gently with water. Repaint them as needed to keep them bright.
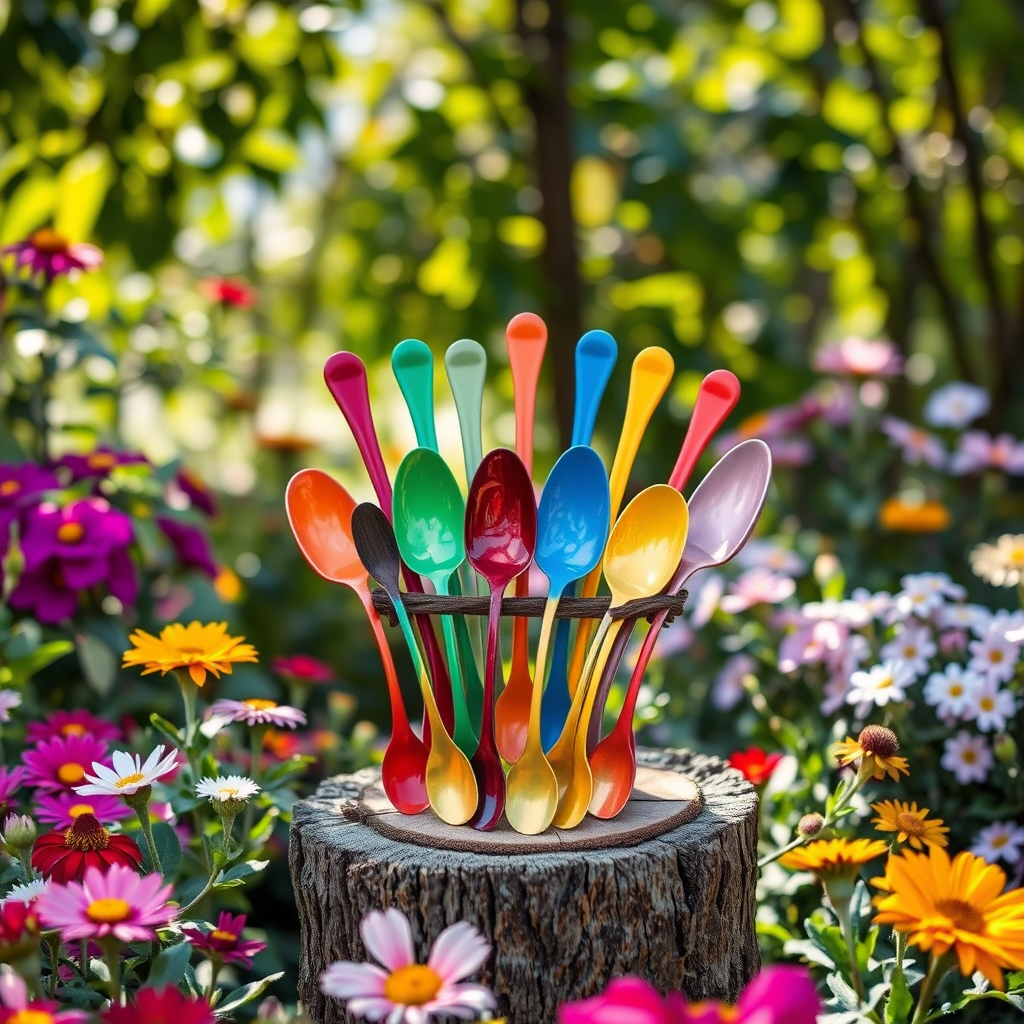
Recycled Old Spoon Sign: Materials, Instructions, Care Tips
For a recycled old spoon sign, gather these materials:
– Old spoons
– Hammer
– Sharpie or paint
– Wooden stake or small board
– Glue
Start by bending the old spoons into fun shapes. You can twist them or flatten them. Next, use a Sharpie or paint to write your message on the spoon handles. Glue the spoons onto the wooden stake or board.
For care, keep the sign clean. Wipe it down with a damp cloth if it gets dirty. If the paint chips, just touch it up. This sign adds a unique touch to your garden!
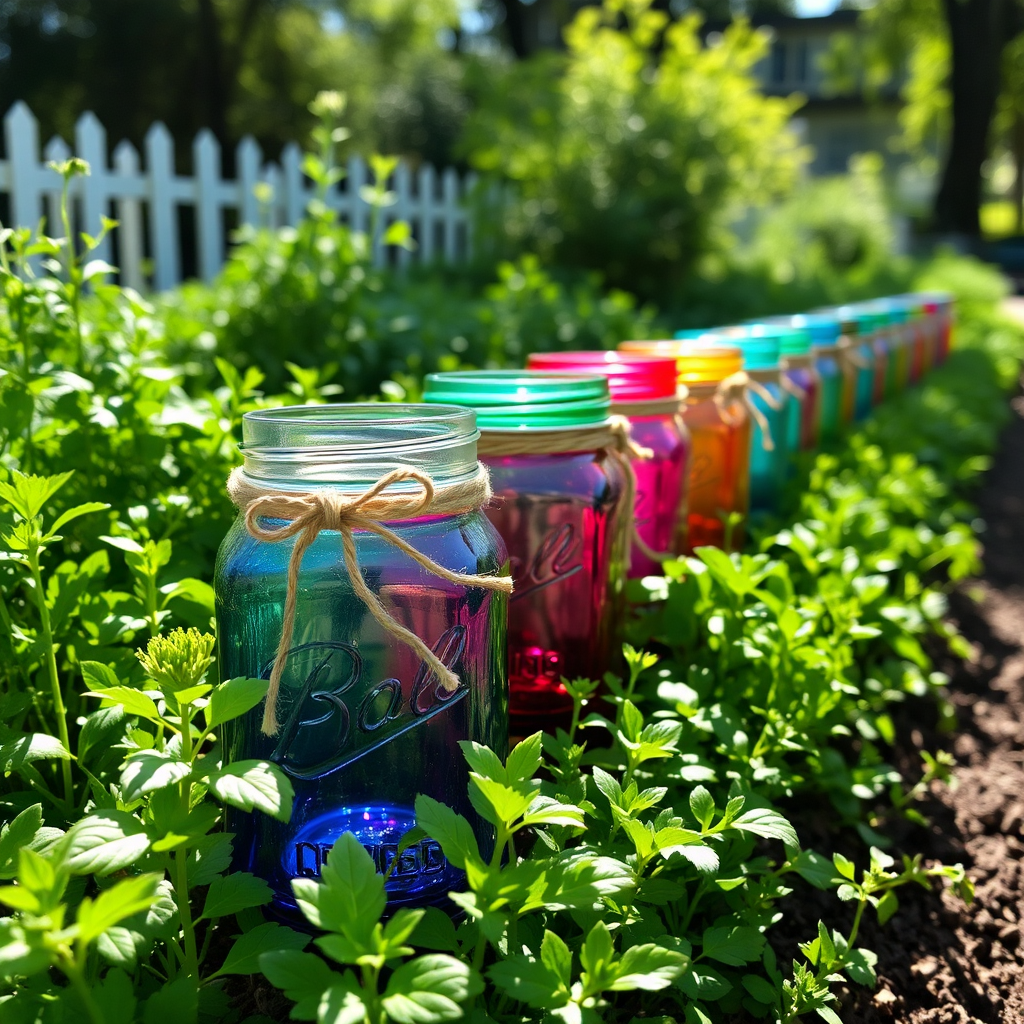
Mason Jar Herb Sign: Materials, Instructions, Care Tips
For a Mason Jar Herb Sign, you need:
– Mason jars
– Paint (outdoor-safe)
– Paintbrush
– Labels or chalkboard paint
– Twine
1. Start by cleaning the jars. Make sure they are free of dust.
2. Paint the jars. Use outdoor-safe paint for a lasting finish.
3. Label each jar. You can write the herb names with labels or chalkboard paint.
4. Attach twine. Tie twine around the neck of each jar.
5. Place the jars in your garden. Group them together for a cute display.
Care tips: Keep them in a shaded spot to prevent fading. Clean the jars once a month.
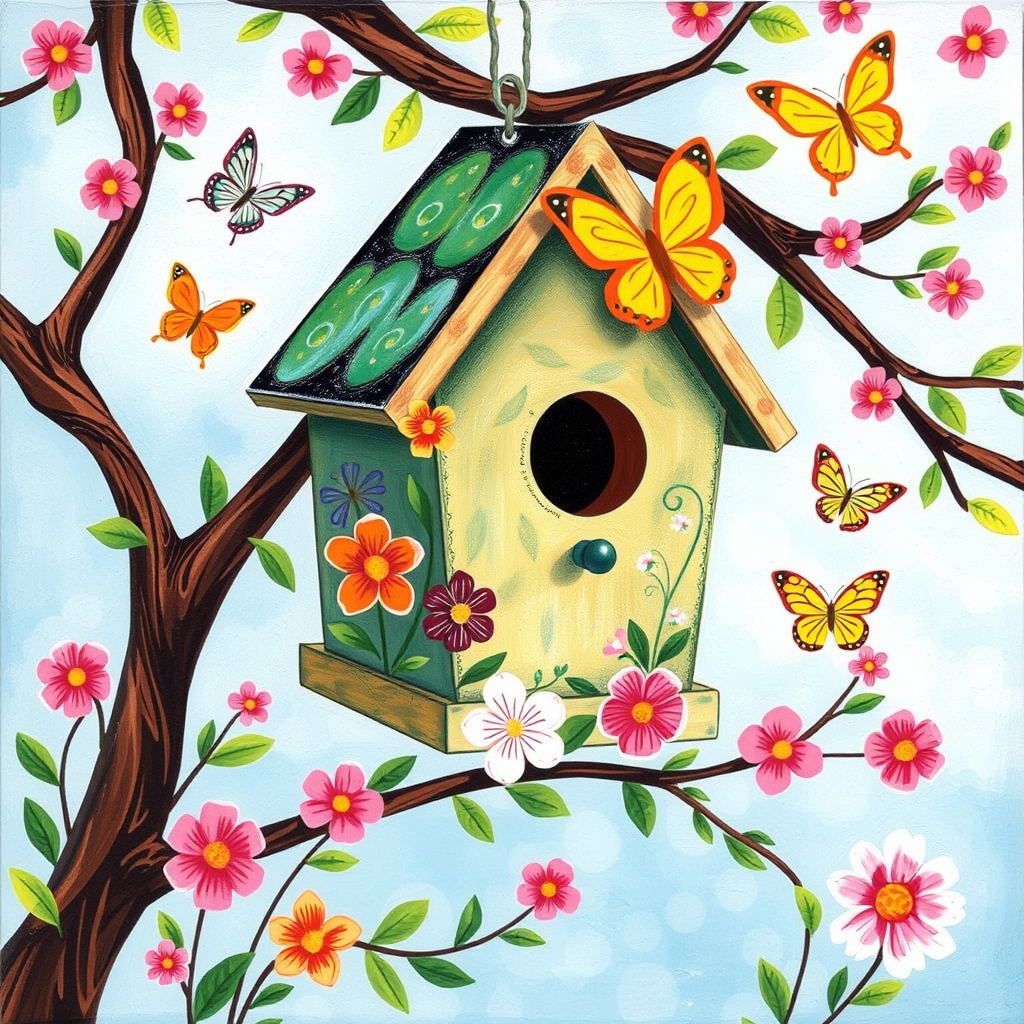
Whimsical Birdhouse Sign: Materials, Instructions, Care Tips
To make a Whimsical Birdhouse Sign, gather:
– Wooden birdhouse
– Acrylic paint
– Paintbrushes
– Sandpaper
– Sealer
1. Sand the birdhouse. Smooth out rough edges for a clean look.
2. Paint the birdhouse. Use bright colors to make it fun and eye-catching.
3. Add a sign. Paint a small wooden sign with a cute phrase.
4. Attach the sign. Use glue or nails to secure the sign to the birdhouse.
5. Hang your birdhouse. Choose a spot in your garden that birds will love.
Care tips: Repaint every year to keep colors bright. Check for wear and tear.
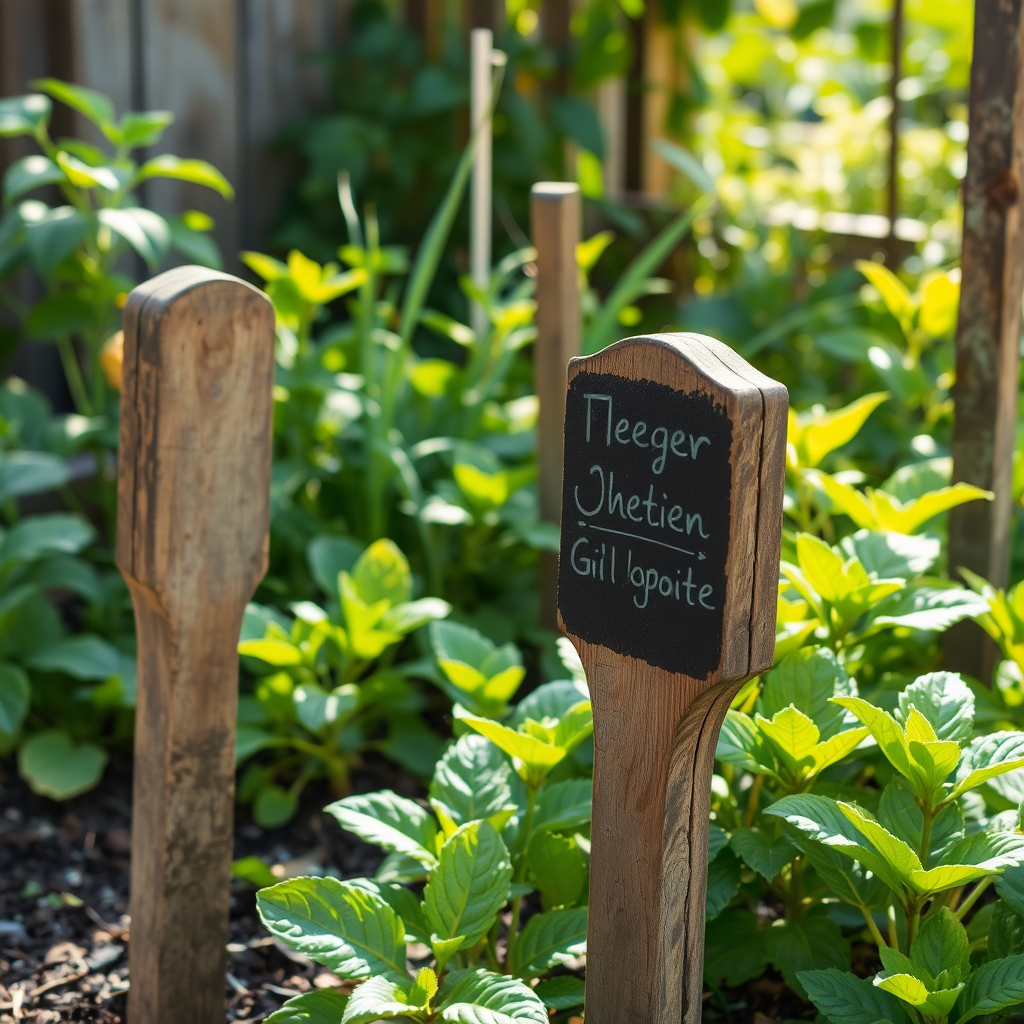
Chalkboard Plant Marker Sign: Materials, Instructions, Care Tips
For a Chalkboard Plant Marker Sign, you’ll need:
– Wooden stakes
– Chalkboard paint
– Chalk
– Paintbrush
– Clear sealer
1. Paint the stakes. Use chalkboard paint to cover one side of each stake.
2. Let them dry. Wait until the paint is completely dry.
3. Write plant names. Use chalk to label each stake.
4. Insert the stakes. Place them in the soil next to your plants.
5. Update as needed. You can easily wipe off chalk and rewrite.
Care tips: Store inside during winter to extend their life. Repaint if the chalkboard wears out.
Metal Garden Stake Sign: Materials, Instructions, Care Tips

To make a metal garden stake sign, you need a few items. Gather a metal stake, weatherproof paint, and a paintbrush. You will also need a stencil for letters or designs.
1. Prepare the metal stake. Clean it with soap and water. Dry it well.
2. Apply the stencil. Place it on the stake. Use tape to hold it in place.
3. Paint the letters. Use your weatherproof paint. Apply it evenly over the stencil.
4. Remove the stencil. Carefully peel it off while the paint is still wet.
5. Let it dry. Allow the sign to dry completely before using it.
Care Tips: Check the sign for rust. If you see any, clean it off and repaint it. Store it indoors during harsh weather for longer use.
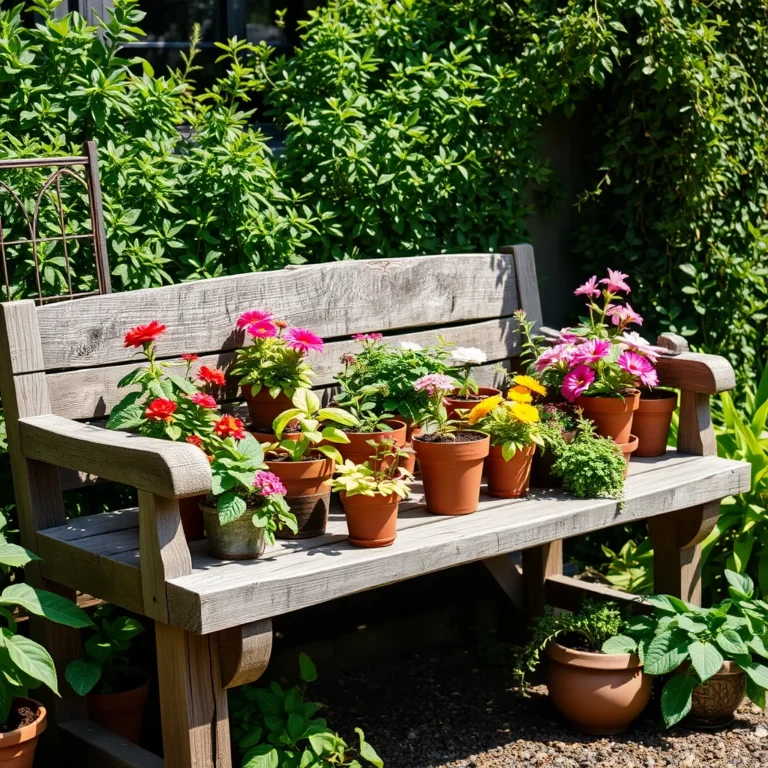
Flower Pot Label Sign: Materials, Instructions, Care Tips
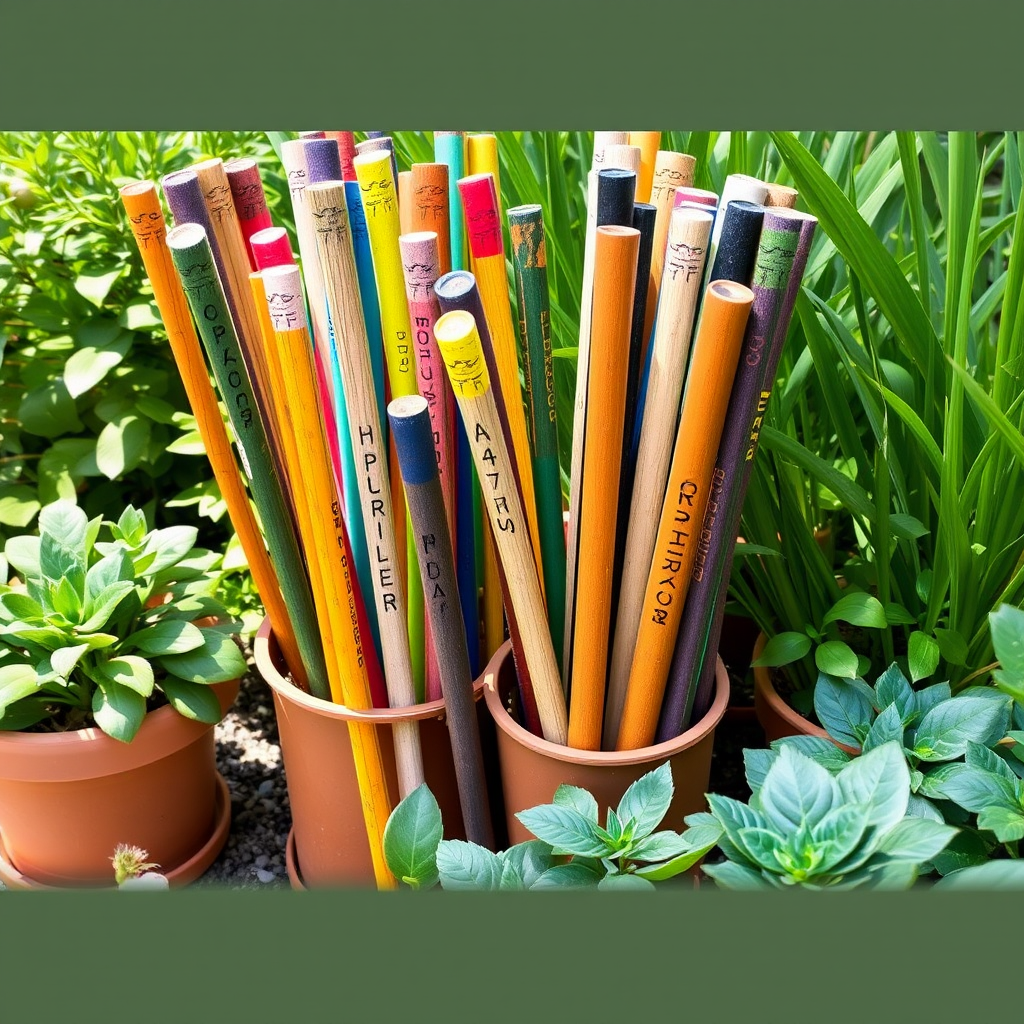
Creating a flower pot label sign is fun and easy. You need some wooden sticks, paint, and a marker. You can also use stickers if you like.
1. Cut the sticks. Make them about 6-8 inches long. Smooth the edges with sandpaper.
2. Paint the sticks. Use bright colors to make them stand out. Let them dry fully.
3. Label the sticks. Write the name of each plant on the sticks with a marker.
4. Insert them into the pots. Push the sticks into the soil where your plants are.
Care Tips: Check the labels often. If the paint wears off, just repaint them. Store them in a dry place during winter.
Quote or Inspirational Word Sign: Materials, Instructions, Care Tips
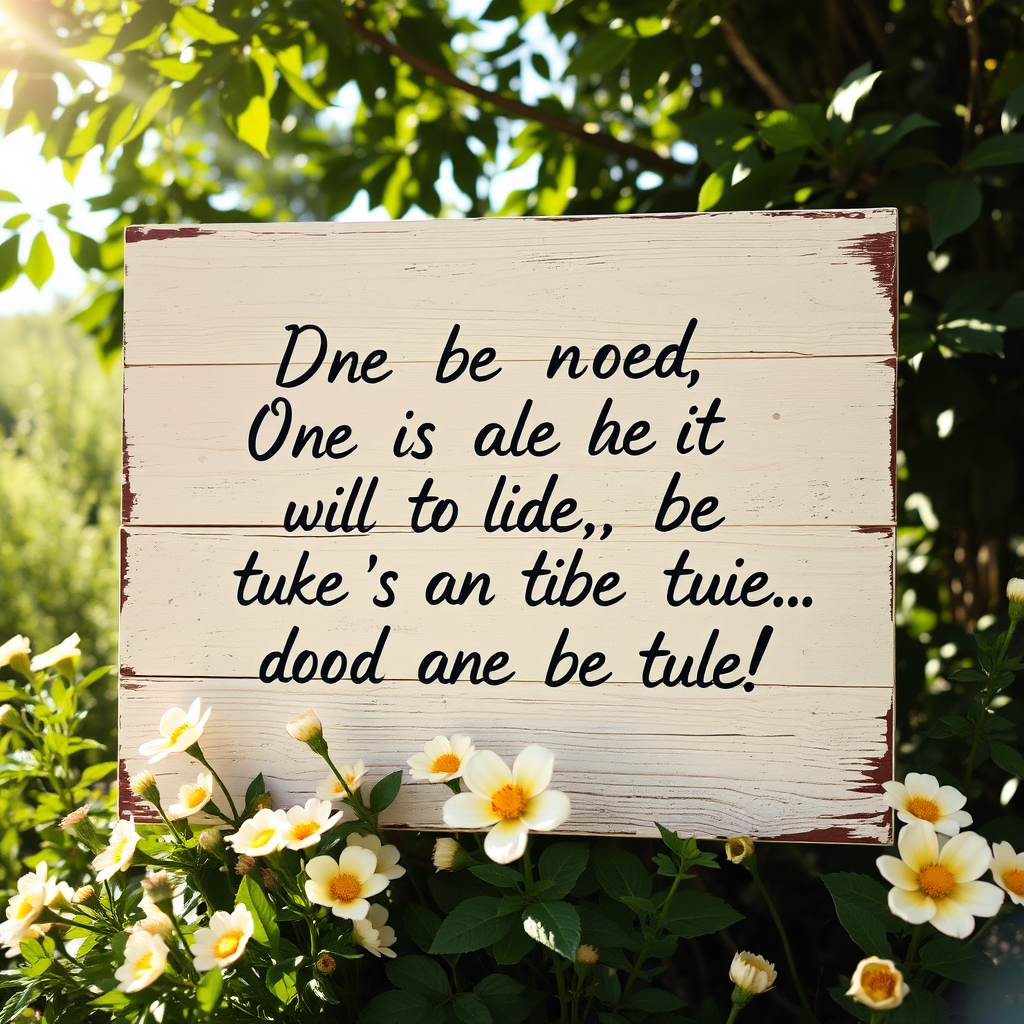
A quote or inspirational word sign can brighten your garden. You will need a wooden board, paint, and a brush. You can also use a vinyl cutter if you have one.
1. Choose your quote. Pick something that inspires you. Keep it short and sweet.
2. Prepare the board. Sand it smooth. Paint it in your chosen base color. Let it dry.
3. Add the quote. Use a stencil or write it with a brush. Make sure it’s clear and bold.
4. Seal the sign. Apply a clear weatherproof sealant to protect it from rain.
Care Tips: Check the sign for fading. Touch it up with paint if needed. Keep it in a spot where it won’t get knocked over easily.
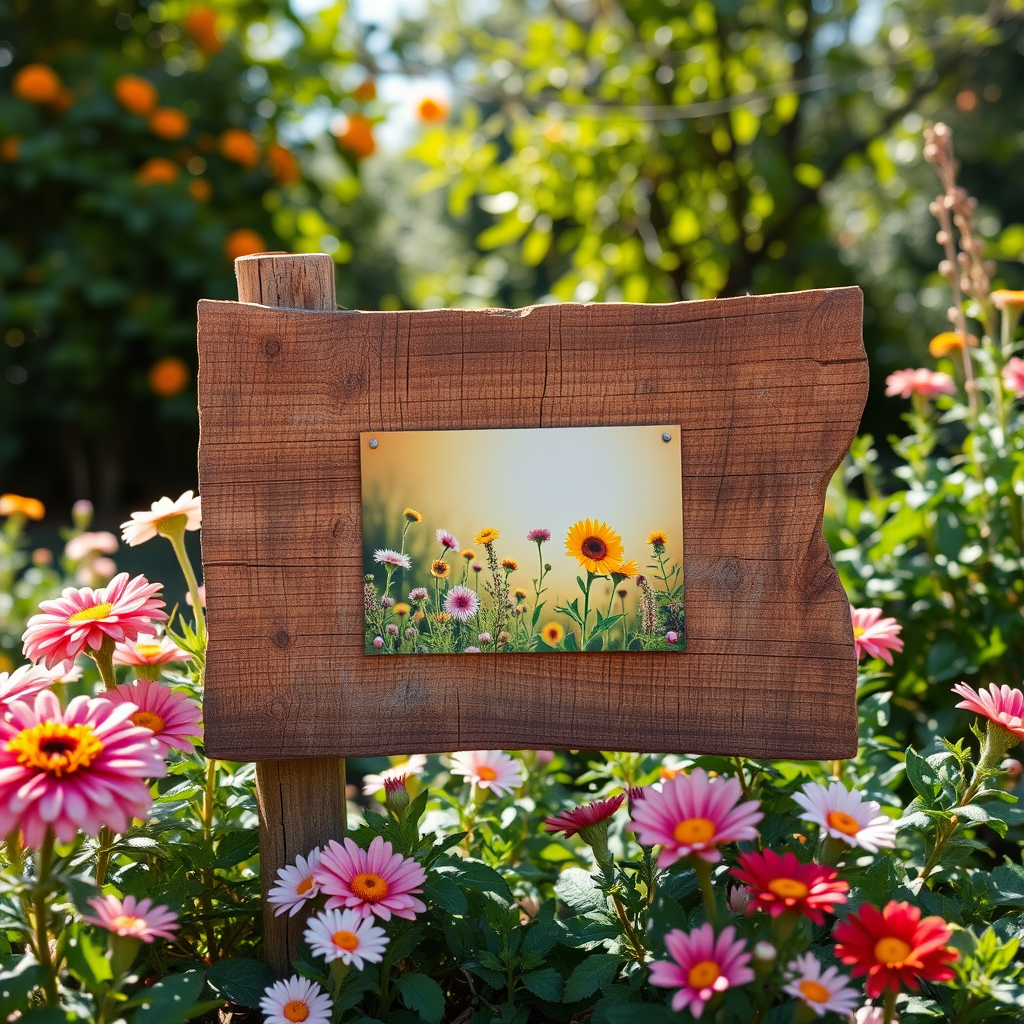
Personal Photo Garden Sign: Materials, Instructions, Care Tips
Materials:
– A wooden board
– A photo printed on weatherproof paper
– Waterproof sealant
– Paint or wood stain
– Nails or screws
– A drill or hammer
– Twine or wire (for hanging)
Instructions:
1. Start by choosing a photo that makes you smile.
2. Cut the wooden board to your desired size.
3. Paint or stain the board to fit your style.
4. Allow it to dry fully.
5. Attach the photo to the board using waterproof sealant.
6. Once the photo is secure, seal the entire sign with waterproof sealant.
7. Use nails or screws to add twine or wire for hanging.
8. Find a great spot in your garden to hang your new sign.
Care Tips:
– Clean the sign with a damp cloth as needed.
– Reapply the waterproof sealant once a year.
– Keep it out of direct sunlight to prevent fading.
– Move it to a shady spot if it shows wear.
Creating a personal photo garden sign adds warmth to your space. You can share memories and charm with every glance.
Conclusion
In this blog post, we explored different garden sign ideas. Each idea, from rustic wooden signs to painted rock markers, offers charm. You learned about the materials and instructions for each sign. We also covered care tips to keep your signs looking great.
Creating your own garden signs can be fun and rewarding. They add beauty and personal touch to your garden. With these simple ideas, you can enjoy a garden that truly reflects you.